
Homeowners: Stop a Running Toilet With 5 Tank Checks to Avoid Wrong Parts
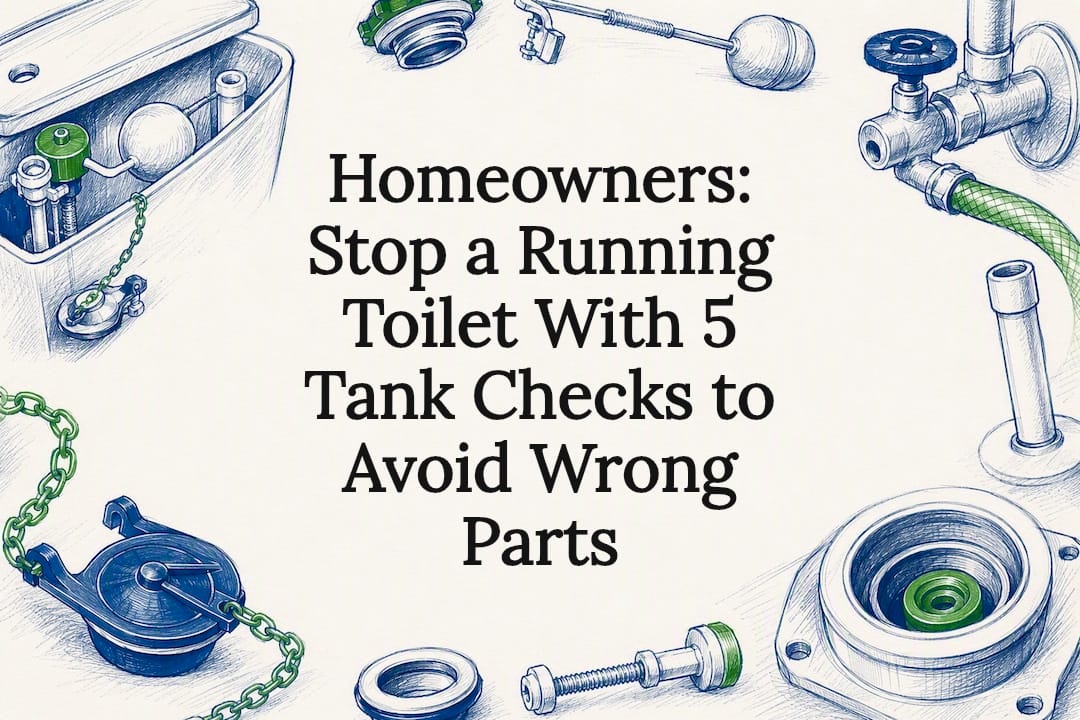
Most running toilets come down to one of two problems: a worn flapper that won’t seal against the flush valve seat, or a fill valve and float that keep overfilling the tank. If water won’t stop and you need it to pause right now, turn the shutoff valve behind the toilet. Otherwise, lift the tank lid and check where the water sits against the overflow tube. That single look tells you which repair to make next.
TL;DR:
The most common cause of a running toilet is a worn flapper that fails to seal properly against the flush valve seat, leading to continuous water flow into the bowl.
If water spills into the overflow tube, the fill valve or float is likely the problem, requiring adjustment or replacement.
Performing a dye test confirms whether the leak is from the flapper or the flush valve seat, indicating if the issue is simple or needs a professional fix.
Replacing a flapper or adjusting the float typically costs less than 25 dollars and takes about 20 minutes, making DIY repairs highly cost-effective.
Persistent leaks after replacing parts may mean the flush valve seat is corroded or cracked, requiring professional assessment or full valve replacement.
Table of Contents
Why Is My Toilet Running? Start With the Overflow-Tube Check
Two fast tests separate a fill-valve problem from a flapper problem, and skipping straight to buying parts is how homeowners end up with the wrong one. Do these first.
Remove the tank lid carefully. Set it on a folded towel, not the floor. Ceramic lids chip easily and cost more to replace than the part you’re actually fixing.
Watch the waterline against the overflow tube. If water is spilling into that tube, your fill valve or float is the culprit. If the water sits an inch or so below the tube’s rim and the toilet is still running, the leak is happening past the flapper, down into the bowl.
Run the dye test. Add 10 to 15 drops of food coloring to the tank water, wait 10 minutes without flushing, then check the bowl. Color in the bowl means the flapper or seat is letting water through.
For a slow, hard-to-catch leak, shut off the supply valve, mark the water level with a pencil on the tank wall, and check it again in an hour. Any drop confirms a leak even when you can’t hear one.
Press down on the flapper with a finger or a stick. If the running stops the instant you press it, the flapper isn’t sealing. If nothing changes, look at the fill valve.
The EPA WaterSense program recommends this kind of in-tank dye testing specifically because leaky fixtures are one of the most common indoor water problems homeowners never notice until the bill arrives.
What Tools and Parts Do You Need Before You Start?
Gather everything up front so you’re not standing in wet socks halfway through, hunting for pliers.
A flathead or Phillips screwdriver
Adjustable pliers or a small wrench
An old towel and a small bucket for the drain-down
A universal flapper (fits most 2 inch and 3 inch flush valves)
A replacement chain and a refill tube if the old one is stiff or split
A fill-valve kit for a full replacement
Most of these parts run somewhere between $8 and $25 each at a hardware store or Lowe’s, so there’s little financial risk in trying the cheap fix first.
How Do You Fix a Flapper, Chain, or Refill-Tube Leak?
If the dye test shows color in the bowl, this is your repair path.
Turn off the supply valve behind the toilet, flush to drain most of the tank, then sponge out what’s left.
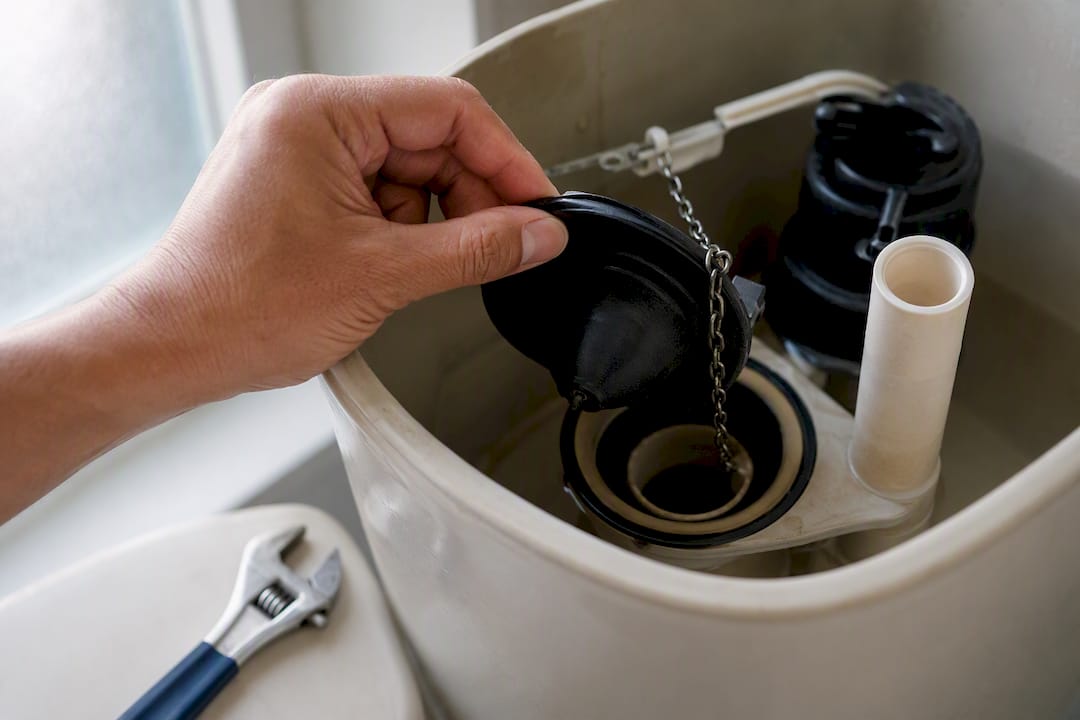
Unhook the flapper and inspect both it and the seat it rests on. Wipe away mineral buildup with a cloth. Feel for warping, cracking, or a flapper that’s gone soft and sticky. That texture change means it’s done.
Attach the new flapper to the same mounting pegs or over the same flush valve overflow tube the old one used, matching the size.
Hook the chain to the flush lever with some slack. Too tight and the flapper never fully closes; too loose and it can tangle underneath the flapper and hold it open.
Check the refill tube. It should clip above the overflow tube’s rim, aiming water down into the opening without the tip sitting submerged. A tube pushed too far down can siphon tank water straight into the bowl, mimicking a flapper leak that isn’t really there.
Turn the supply back on, let the tank fill, and rerun the dye test to confirm.
Pro Tip: Snap a photo of the old flapper’s shape and mounting style before you toss it. Flush valve openings vary just enough that grabbing the wrong universal flapper at the store is one of the most common return trips homeowners make.
If a brand new flapper still leaks after this sequence, the problem probably isn’t the flapper. Move on to the seat itself, covered below.
How Do You Fix a Fill Valve or Float That Won’t Shut Off?
If the overflow tube was the giveaway, work through the float and valve instead.
Identify your float style. Older toilets use a ball on a metal arm; most modern ones use a float cup that rides up and down the fill valve shaft.
For a ball-arm float, gently bend the arm downward to lower the shutoff point. For a float cup, turn the adjustment screw or slide the clip down a notch.
If turning down the float doesn’t stop the overfill, debris in the fill valve cap may be the real issue. Lift the cap and flush the valve briefly with the water running, especially after a new install or any work on the supply line, since loosened sediment is a frequent culprit.
If flushing the valve doesn’t fix it, replace the entire fill-valve kit. Set the new valve’s water level about an inch below the top of the overflow tube, following the standard repair order most guides recommend: adjust first, replace only if adjustment fails.
A properly adjusted fill valve should shut off completely within a few seconds of the tank reaching that mark, with no hissing or trickling afterward.
What If a New Flapper Doesn’t Stop the Leak?
A new flapper that still leaks almost always means the flush valve seat underneath it is damaged, not the flapper itself.
Run a finger around the seat’s rim, feeling for pits, ridges, or rough spots where the flapper should sit flat.
Look for hairline cracks or a seat that’s gone slightly out of round from years of mineral buildup.
Light cleaning with a soft abrasive pad sometimes restores a smooth seal, but deep pitting or corrosion won’t sand out.
A flush-valve repair kit with a new sealing ring can sometimes restore an already-worn seat without pulling the tank, though how well that works depends on how far gone the seat already is.
Full flush-valve replacement means removing the tank from the bowl, which risks cracking old, brittle tank bolts if you’re not careful.
If the seat is visibly corroded or cracked, that’s the point where calling in a professional usually costs less than a cracked tank.
When Should You Call a Plumber Instead of DIY?
Some situations are worth handing off immediately.
You’ve swapped the flapper and the fill valve and it’s still running.
You see cracked porcelain, water pooling on the floor, or corroded tank bolts.
The toilet has a concealed cistern, wall-hung design, or a shutoff valve you can’t isolate.
Flow is very high and continuous, or you’re on a septic system where wasted water matters more.
Shut the supply valve, then call. Have your dye-test result, the parts you already replaced, and a photo or two ready. It speeds up the visit considerably, similar to how documenting a sudden leak helps any plumber diagnose faster on arrival.
How Do You Prevent a Toilet From Running Again?
Skip drop-in bleach tablets. They break down rubber flappers and seals fast.
Check chain slack and refill tube position once a year, and swap flappers proactively in hard-water areas.
Upgrade to a modern fill valve on any toilet older than 10 to 15 years.
Watch your monthly water bill for unexplained spikes.
A running toilet is one of the most overlooked sources of wasted household water, according to EPA WaterSense data on indoor use. Fixing it fast pays for itself.
Repair-First Is Cheaper Than Replace-First
Most running toilets don’t need a new toilet. They need $15 in parts and 20 minutes. Some plumbing services build their practice around that idea: diagnose thoroughly, explain what’s actually wrong, and only recommend replacement when repair genuinely won’t hold. That philosophy applies whether it’s a flapper or a full fixture. When a seat is corroded past saving or a tank shows hairline cracks, that’s when a homeowner should stop guessing and get a second set of eyes on it.
— Dan Patino
Get a Plumber Out Fast If DIY Isn’t Cutting It
If you’ve tried the flapper, the fill valve, and the toilet is still running, or you’d rather not remove a tank yourself, Professional plumbing services can handle the diagnostic visit for you and recommend only what the toilet actually needs, not a full replacement you don’t need.

A typical visit starts with the same checks covered here: overflow tube position, dye test results, and a hands-on inspection of the flush valve seat, before quoting a small repair. Have your dye-test outcome and any parts you already swapped ready when you call; it saves a return trip. Homeowners across the Greater San Antonio area, including Spring Branch and New Braunfels, can find local plumbing services. Check the full plumbing services page to see what’s covered and schedule a visit.
Sources
FAQ
How do you fix a toilet that keeps running?
Check the overflow tube first to see whether the fill valve or the flapper is causing it, then clean or replace the flapper, adjust the float, or replace the fill valve based on what you find.
What happens if I ignore a running toilet?
You keep paying for water that never gets used, and a worn flapper or seat tends to get worse over time rather than fix itself, so the waste and the eventual repair cost both grow.
What is the most common cause of a constantly running toilet?
A worn or misaligned flapper that no longer seals against the flush valve seat is the single most common cause, closely followed by a fill valve that isn’t shutting off completely.
Why is water constantly trickling into my toilet bowl?
Trickling usually means the flapper isn’t sealing tight against the flush valve seat, or the refill tube is sitting too low in the overflow tube and siphoning tank water into the bowl.
Recommended
Comments